This post may contain affiliate links. If you purchase through these links, I may earn a small commission at no extra cost to you. This helps keep Pine+Mango running. Thank you for your support! Read our full disclosure here.
You’ve decided to eat more plants. Amazing! But now you’re standing in your kitchen wondering where the heck to start.
Do you toss everything? Buy all new stuff? What even belongs in a plant-based kitchen? And how do you do this without spending your entire paycheck at the fancy health food store?
I get it. When I first started, I felt completely overwhelmed. I’d open my pantry and freeze, not knowing what stayed, what went, or what I needed to add.
I wasted money on ingredients I never used and missed obvious staples that would’ve made everything easier.
Here’s what I learned: setting up your plant-based kitchen doesn’t require perfection or a massive budget. It requires a simple plan and the willingness to build gradually.
This guide walks you through exactly what you need—from pantry to fridge to freezer to tools—so you can start nourishing yourself without the overwhelm.
Let’s do this together.

Subscribe to Our Nourished Newsletter
Get free weekly guidance for your plant-based journey, straight to your inbox.
- Understanding Your Plant-Based Kitchen Setup
- The Gradual Approach: How to Actually Make This Stick
- What to Toss (And What Can Actually Stay)
- Essential Kitchen Tools You Actually Need
- Your Plant-Based Pantry, Fridge, and Freezer Essentials
- Budget-Friendly Kitchen Setup Tips
- Organizing Your Kitchen for Success
- Common Kitchen Setup Mistakes to Avoid
- FAQs About Plant-Based Kitchen Setup
- In Essence: Reset Gradually
- Subscribe to Our Nourished Newsletter
Understanding Your Plant-Based Kitchen Setup

Before we dive into lists, let’s get clear on what we’re actually doing here. A plant-based kitchen isn’t about restriction. It’s about abundance.
You’re not removing everything you love—you’re adding foods that make you feel incredible and gradually letting go of what doesn’t serve you.
The Foundation Philosophy:
Your kitchen should make healthy eating the easy choice, not the hard one.
When nutritious food is visible, accessible, and ready to use, you’ll naturally reach for it.
When it’s buried in the back of a chaotic pantry, you’ll order takeout.
The Budget Reality:
Plant-based eating can be incredibly affordable when you focus on whole foods.
Beans, grains, and seasonal produce cost less than meat and processed foods. You’ll save money by skipping the fancy substitutes and sticking with real, simple ingredients.
This isn’t about creating an Instagram-perfect pantry. It’s about building a functional space that supports the way you want to eat and feel.
The Gradual Approach: How to Actually Make This Stick
Here’s the biggest mistake people make: trying to transform everything overnight.
They throw out half their pantry, spend $400 at Whole Foods, buy ingredients they’ve never cooked with, and then feel overwhelmed when nothing tastes right or half the food goes bad.
Three weeks later, they’re back to their old habits, convinced plant-based eating “doesn’t work for them.”
★ The Real Strategy That Works: Think in weeks and months, not days. Your kitchen transformation happens gradually, intentionally, one decision at a time.
Week 1-2: Assessment and Foundation
Don’t buy anything new yet. Just observe.
Look at what you’re currently eating. What do you already enjoy that’s plant-based or easily adaptable? Maybe you already love pasta with marinara, peanut butter toast, or vegetable stir-fries.
Start there.
Check your pantry for what’s already plant-friendly. You probably have rice, pasta, oats, canned beans, spices, olive oil, and various vegetables.
Great. You’re further along than you think.
Make a list of meals you already know how to cook. Then figure out which ones are already plant-based or can become plant-based with simple swaps.
★ Action Step: Cook 2-3 plant-based meals this week using what you already have. No shopping required. Just practice.
Week 3-4: Strategic Additions
Now you start building. But slowly.
Pick 3-5 new pantry staples to add this week. Maybe it’s quinoa, canned chickpeas, tahini, nutritional yeast, and better quality olive oil. That’s it.
Choose 1-2 new fresh vegetables or fruits you haven’t tried or haven’t cooked with regularly. Learn how to prepare them well.
Try one new plant milk. Find one you actually like before buying in bulk.
★ Action Step: Cook 3-4 plant-based meals this week, incorporating your new ingredients. Start learning what you enjoy.
Month 2: Expanding Your Range
You’re getting comfortable now. Time to branch out.
Add different grains. If you’ve been eating rice, try farro or barley. Experiment with cooking methods and textures.
Explore different beans and legumes. Each one has its own flavor and texture. Find your favorites.
Build your spice collection based on what you’re actually cooking. Making a lot of Mexican-inspired food? Get cumin, chili powder, and oregano.
Cooking Indian-inspired dishes? Stock up on curry powder, turmeric, and garam masala.
Try tofu or tempeh if you haven’t yet. Learn how to prepare them properly so they actually taste good.
★ Action Step: Aim for 5-6 plant-based meals per week. You’re building momentum and confidence.
Month 3 and Beyond: Full Integration
By now, your kitchen looks completely different.
You didn’t notice it happening, but your pantry is stocked with plant-based staples. The fridge is full of fresh produce. And, you know how to cook a dozen satisfying meals without thinking twice.
This is when you refine.
You discover which ingredients you use constantly and which ones sit untouched. Meal planning and batch cooking gets easier.
You stop buying things just because they’re “healthy” and focus on what you actually enjoy eating.
The Timeline Reality:
For me, it took about three months before my kitchen felt fully transformed and functional. But I started seeing benefits immediately.
Week one, I felt good about the meals I made. Month one, my energy improved. Month three, my entire relationship with food had shifted.
Your timeline might be faster or slower. That’s completely okay. The point isn’t speed—it’s sustainability.
How to Stay Consistent During the Transition
Anchor to What You Love:
Don’t force yourself to eat foods you hate just because they’re “healthy.” If you despise kale, don’t buy kale.
Find leafy greens you actually enjoy.
Keep Emergency Backups:
Life gets chaotic. Keep quick options available—canned beans, frozen vegetables, pasta, marinara sauce.
You need meals you can throw together in 10 minutes when everything falls apart.
Allow Flexibility:
You don’t need to be perfect. Some weeks you’ll cook more plant-based meals than others.
Some days you’ll eat takeout.
Progress over perfection, always.
Track What Works:
Keep a running list of meals you enjoyed and want to make again. This becomes your personal recipe rotation and prevents decision fatigue.
The gradual approach feels slower, but it’s actually faster because it sticks. You’re building habits, not relying on willpower.
What to Toss (And What Can Actually Stay)
Let’s talk about what really needs to go and what you’re keeping. This isn’t about judgment or perfection—it’s about making informed decisions.
What to Remove (Eventually)
Notice I said “eventually.” You’re not throwing everything out today.
Highly Processed Foods:
If the ingredient list reads like a chemistry experiment, it’s probably working against your health.
Artificial colors, preservatives, hydrogenated oils, and ingredients you can’t pronounce—these aren’t serving your body.
Examples: Most packaged snack foods, frozen meals with 30+ ingredients, heavily processed “health” bars, artificially flavored anything.
★ How to Approach This: As you run out, don’t replace them. Find whole food alternatives instead.
Refined Sugars and Sweeteners:
Sugar hides everywhere—pasta sauce, bread, salad dressings, “healthy” granola, flavored yogurts, and even some plant milks.
Check labels obsessively for the first few weeks until you learn which brands are clean.
Look for: high fructose corn syrup, corn syrup, dextrose, maltodextrin, and anything ending in “-ose.”
★ How to Approach This: Finish what you have, then buy unsweetened or naturally sweetened versions. Make your own sauces and dressings when possible.
Trans Fats and Excessive Saturated Fats:
These increase inflammation and mess with your cardiovascular health. Found in: margarine, vegetable shortening, many packaged baked goods, and microwave popcorn.
★ How to Approach This: Check nutrition labels for “partially hydrogenated oils” and toss those immediately. They’re genuinely harmful.
Refined Grains:
White bread, white rice, white pasta, and most crackers offer minimal nutrition. You’re getting calories without fiber, vitamins, or minerals.
★ How to Approach This: Finish what you have. When you’re out, replace with whole grain versions. Brown rice instead of white. Whole grain pasta instead of regular. Whole grain or sprouted bread instead of white.
Get Your FREE Plant-Forward Grocery List Today!
What Actually Gets to Stay
Most people are shocked by how much they can keep.
Already Plant-Based Staples:
- All whole grains (brown rice, quinoa, oats, whole wheat pasta, barley, farro)
- All dried or canned beans and legumes
- All nuts and seeds (as long as they’re not coated in sugar or excess salt)
- All spices and dried herbs
- All vinegars
- Plain canned tomatoes and tomato products
- Vegetable broth
- Natural nut butters (just nuts, maybe salt)
- Olive oil, avocado oil, coconut oil
- Baking essentials (flour, baking soda, baking powder, vanilla extract)
Check the Label, But Probably Fine:
- Pasta sauce (look for versions without added sugar)
- Salsa (usually clean ingredients)
- Mustard (almost always plant-based)
- Hot sauce (check for no weird additives)
- Soy sauce or tamari
- Maple syrup and honey if you use them
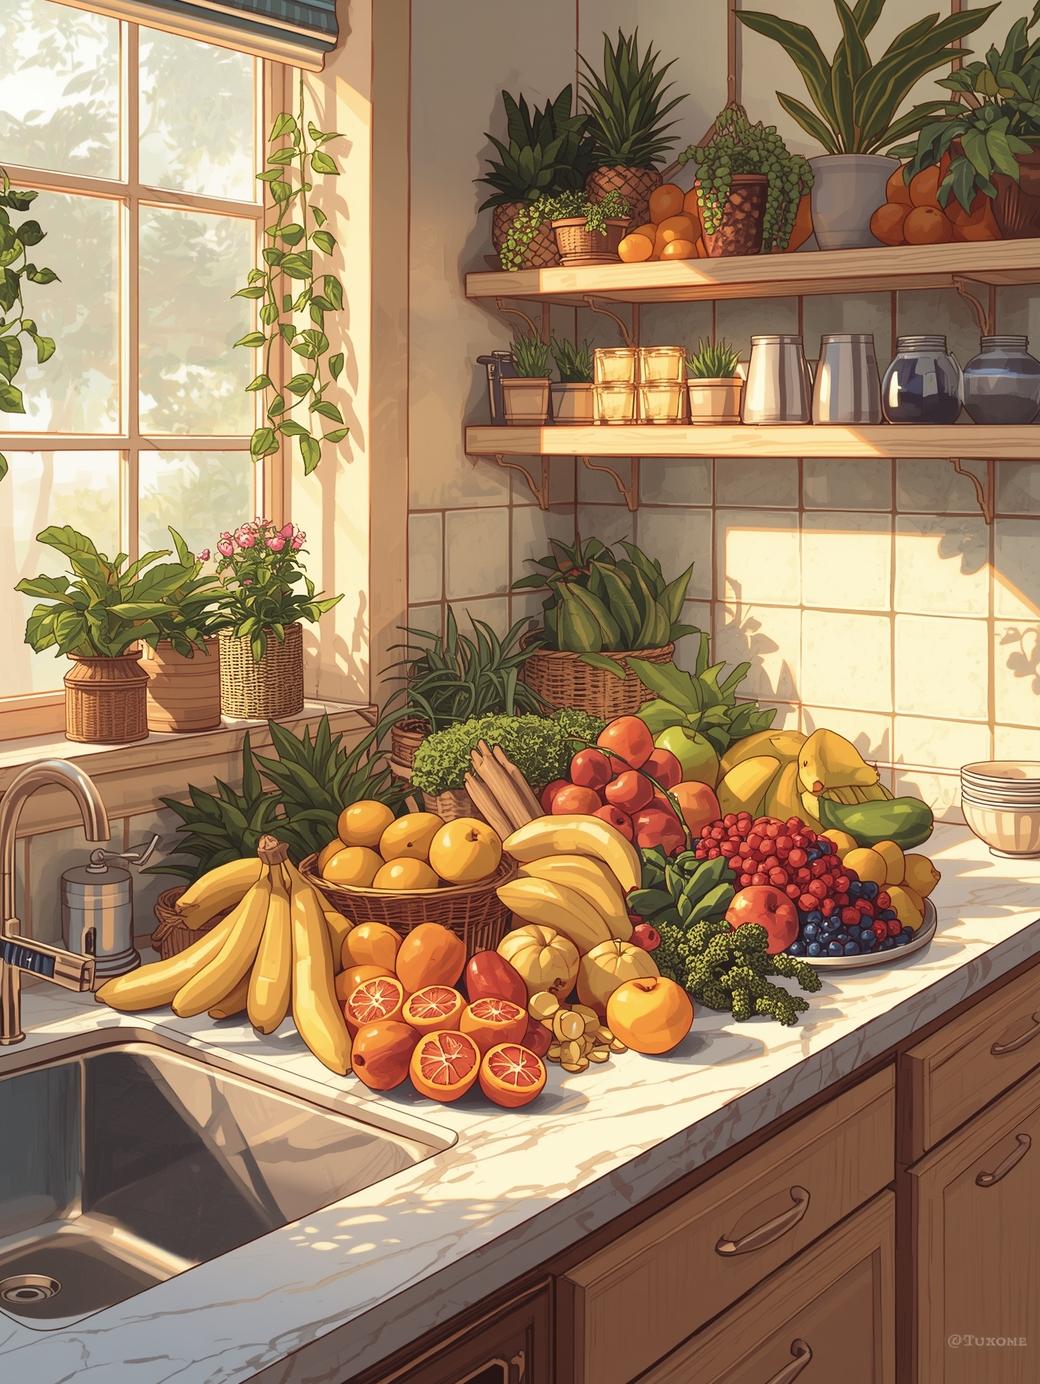
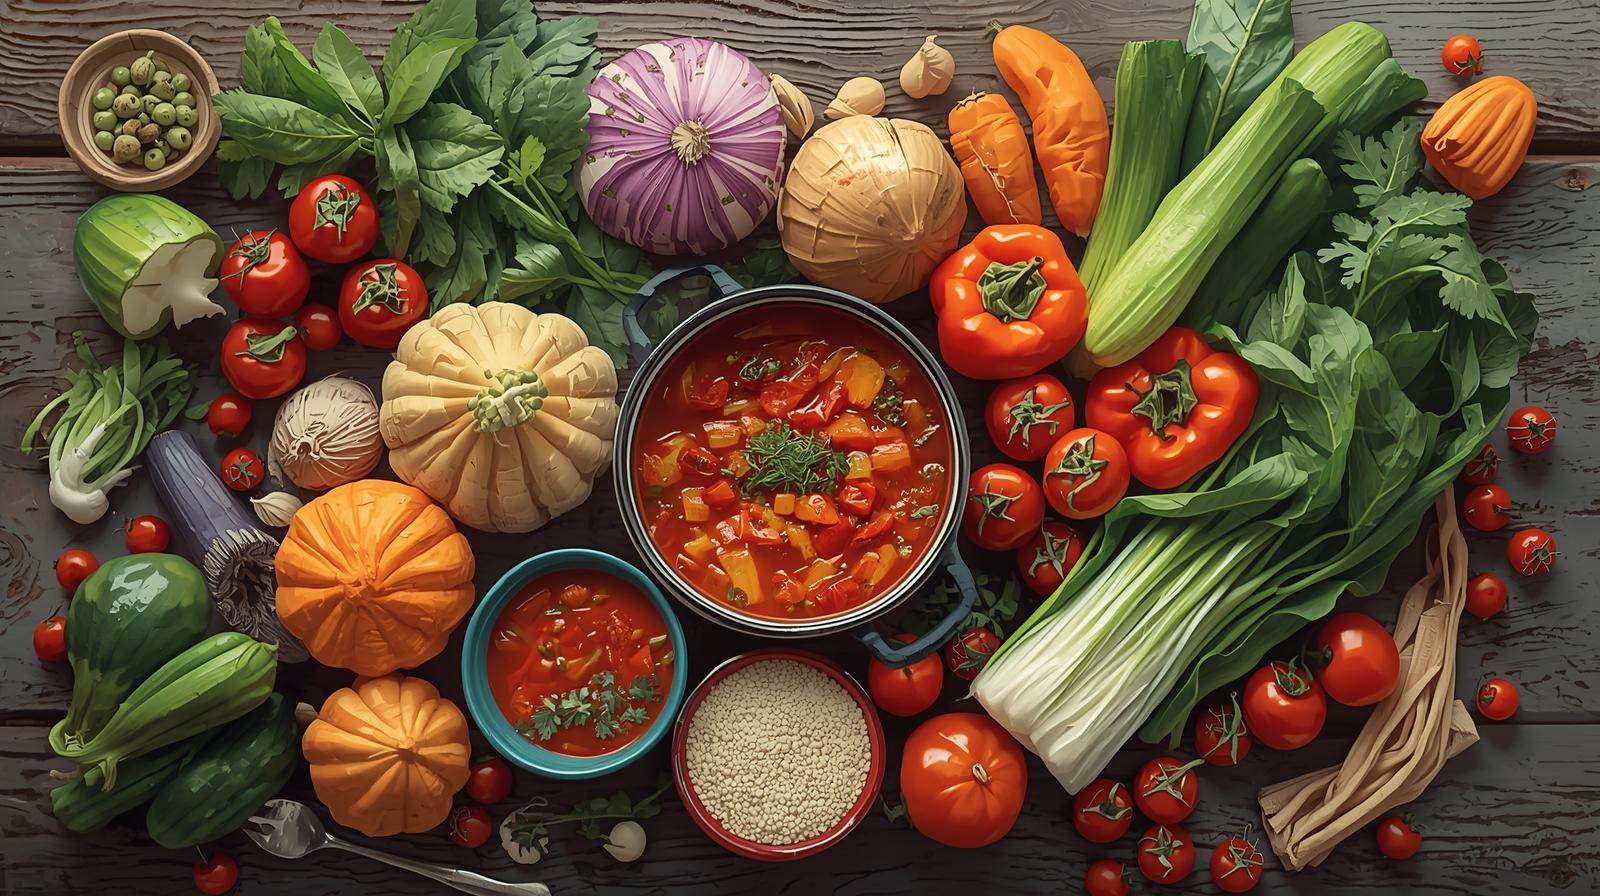
Fresh Produce:
Keep everything. All vegetables and fruits are staying.
The Things You’re Probably Overthinking
Condiments:
Most condiments are fine. Mustard, hot sauce, salsa, vinegar-based dressings—these typically have simple, plant-based ingredients.
Don’t stress about the occasional condiment unless it’s loaded with sugar or hydrogenated oils.
Frozen Vegetables and Fruits:
These are nutritional powerhouses.
Frozen produce is picked at peak ripeness and flash-frozen, often making it more nutritious than “fresh” produce that’s been sitting for days.
Keep all of it.
Canned Foods:
Canned beans, tomatoes, and vegetables are completely fine. Yes, even with the can lining.
The health benefits of eating beans and vegetables far outweigh any theoretical risks from can linings. Buy low-sodium when possible, rinse before using, and move on.
What About “Transition Foods”?
These are the plant-based versions of animal products—plant-based burgers, dairy-free cheese, fake chicken nuggets, etc.
My Take:
They can help during the transition, especially if you’re craving familiar textures and flavors. But they shouldn’t become your everyday staples.
Keep a few in the freezer for occasional convenience or comfort. But don’t build your eating around them.
They’re expensive, often highly processed, and not as nutritious as whole plant foods.
Think of them like training wheels. They help you get started, but eventually you won’t need them.
The Purge Strategy That Actually Works
Option 1: Finish What You Have
Unless it’s actively harmful (trans fats) or making you feel terrible, finish what you already bought. As items run out, replace them with better versions.
No waste, no guilt, gradual transition.
Option 2: Donate Unopened Items
If you have unopened packaged foods you know you won’t eat, donate them to a food bank.
Someone will use them, and you’re not wasting food or money.
Option 3: Give to Family or Friends
Have family members who’d eat the stuff you’re removing? Offer it to them.
No judgment, no lecture, just “Hey, I’m not eating this anymore, want it?”
I did a combination of all three. I finished what I’d opened, donated unopened items, and gave some stuff to my family. My kitchen transformed over six weeks without any dramatic trash bag moments.
Essential Kitchen Tools You Actually Need
Forget the gadgets. You need basics that work, not a drawer full of unitaskers.
The Non-Negotiables
- Sharp Chef’s Knife: This is where you invest. A good 8-inch chef’s knife makes prep faster, safer, and less frustrating. Sharpen it regularly.
- Large Cutting Board: Wood or plastic, your choice. Just make sure it’s big enough to work comfortably. Small cutting boards are annoying and dangerous.
- Large Pot (6-8 Quarts): For cooking pasta, making soup, batch cooking beans and grains. This gets used constantly.
- Medium Saucepan (2-3 Quarts): For smaller portions of grains, heating up soup, making sauces.
- Large Skillet or Sauté Pan: For stir-fries, sautéing vegetables, pan-cooking anything. Cast iron or stainless steel both work great.
- Sheet Pan: Roasting vegetables transforms them. You need a good sheet pan. I use mine 4-5 times per week.
- Colander: For draining pasta, rinsing beans, washing produce. Simple, essential, cheap.
- Wooden Spoons and Spatulas: For stirring, flipping, and serving. Buy a few good ones.
- Measuring Cups and Spoons: Especially helpful when you’re learning how much of everything to use.
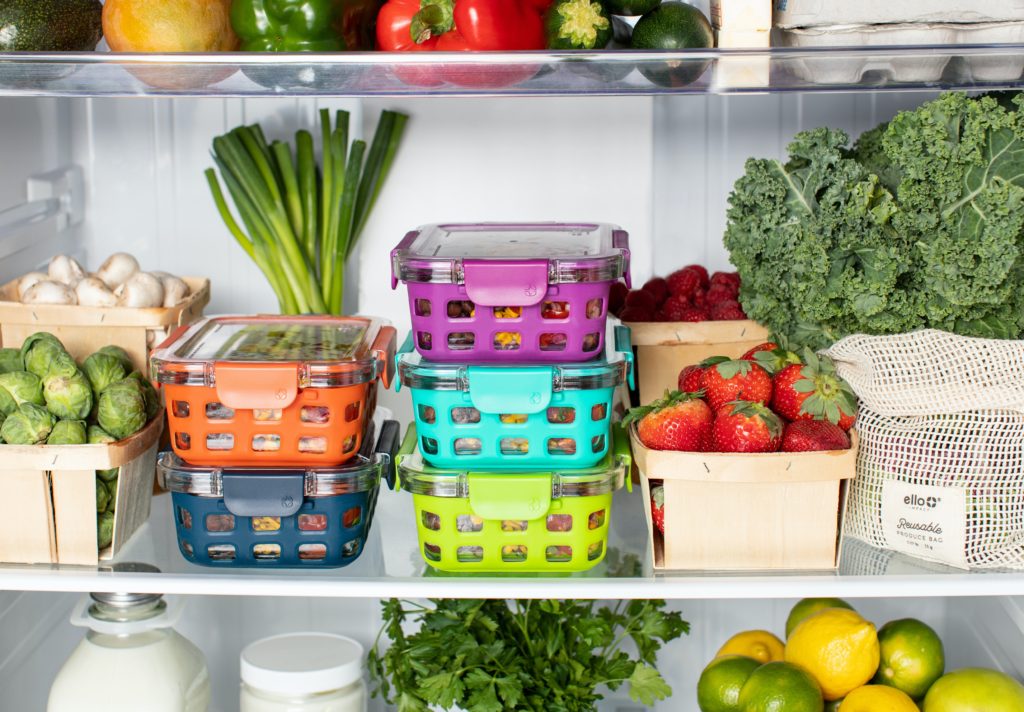
- Mixing Bowls: Various sizes for prep, mixing, storing. Glass or stainless steel.
- Glass Storage Containers: See what you have, store leftovers safely, no weird plastic chemicals. This is where meal prep becomes manageable.
I cooked for months with just these basics. Don’t let the lack of fancy equipment stop you from starting.
Nice to Have Eventually
- Blender: For smoothies, soups, sauces, and dressings. Not essential day one, but eventually you’ll want one. A basic $30-50 blender works fine to start.
- Food Processor: Makes hummus, chops vegetables quickly, and processes nuts. But you can chop by hand and make hummus in a blender. Wait until you know you’ll use it.
- Instant Pot or Pressure Cooker: Cooks beans from dried in 30 minutes. Cooks grains faster. Makes soups hands-off. Total game-changer for batch cooking, but not essential.
- Rice Cooker: Set it and forget it. Perfect rice every time. But you can absolutely cook rice in a pot. This is convenience, not necessity.
- Salad Spinner: Removes water from greens efficiently so your salads aren’t soggy and your storage containers aren’t full of water.
- Vegetable Peeler: Faster than a knife for potatoes, carrots, and other vegetables.
- Grater/Zester: For garlic, ginger, citrus zest, hard vegetables. Makes prep easier and adds big flavor.
I bought my blender six months in, my Instant Pot a year later. Build gradually based on what you actually cook.
What You Don’t Need
- Spiralizer: Unless you’re obsessed with zucchini noodles, skip it.
- Juicer: Expensive, creates waste, removes fiber. Eat the whole fruit instead.
- Fancy Knife Sets: You need one good chef’s knife, maybe a paring knife. The 12-piece block set is overkill.
- Single-Use Gadgets: Avocado slicers, garlic presses, egg separators—these collect dust. Your knife does it all.
- Expensive Blenders: A $400 Vitamix is amazing, but a $40 blender works fine when you’re starting out. Upgrade later if you want.
Don’t let gear guilt stop you from cooking. Work with what you have, add tools as you need them.
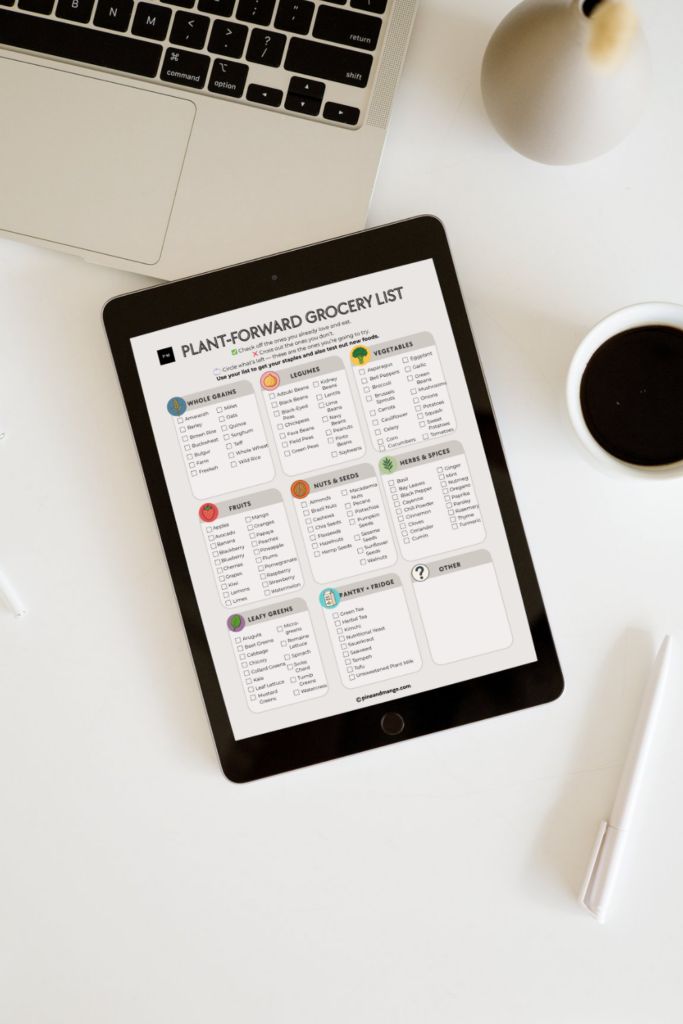
Your Plant-Based Pantry, Fridge, and Freezer Essentials
Here’s the foundation of what you’ll stock.
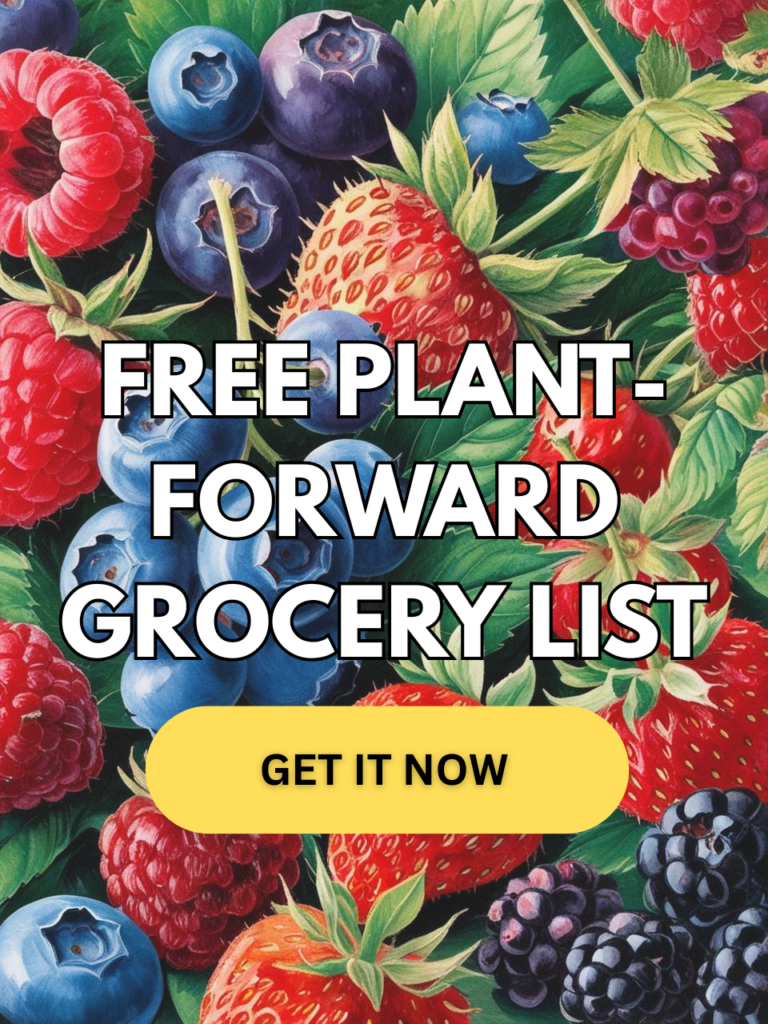
👉🏿 I’m giving you the overview here. For detailed lists with specific brands, seasonal guides, and shopping strategies, check out The Ultimate Plant-Based Grocery List for Beginners.
Pantry Foundation
- Whole Grains: Brown rice, quinoa, oats, whole grain pasta, farro, barley—pick 3-4 to start.
- Legumes: Dried or canned beans (black, pinto, chickpeas, kidney, white), lentils (red, green, brown), split peas. Start with 4-5 varieties.
- Nuts and Seeds: Almonds, walnuts, cashews, sunflower seeds, pumpkin seeds, chia seeds, flaxseeds, hemp hearts. Pick 3-4 initially.
- Healthy Fats: Extra virgin olive oil, avocado oil, tahini, coconut oil.
- Flavor Builders: Essential spices (garlic powder, onion powder, cumin, paprika, turmeric, cinnamon, black pepper), nutritional yeast, soy sauce, miso paste, tomato paste, vegetable broth, vinegars (balsamic, apple cider, rice), natural sweeteners (maple syrup, dates).
- Canned Goods: Diced tomatoes, tomato sauce, coconut milk, beans if you’re not cooking dried.
Fridge Essentials
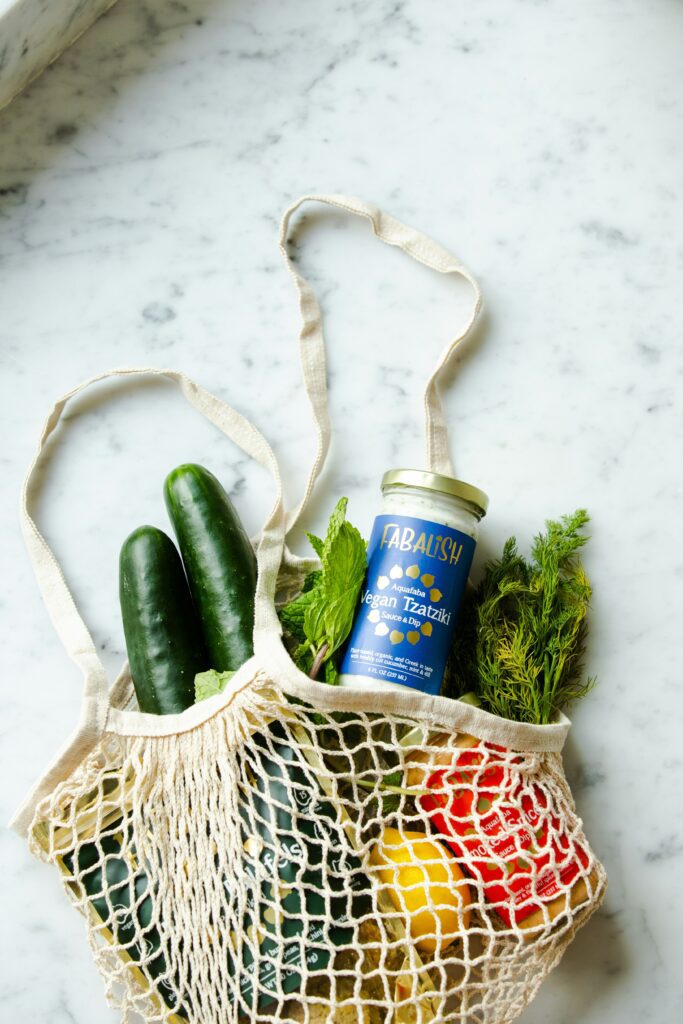
- Fresh Vegetables: Leafy greens, broccoli, bell peppers, carrots, tomatoes, cucumbers, onions, garlic. Buy what’s in season and what you actually like.
- Fresh Fruits: Bananas, apples, berries (when affordable), citrus, seasonal fruit.
- Plant Milks: Unsweetened almond, oat, or soy milk.
- Fresh Herbs: Cilantro, parsley, basil—these transform meals.
- Condiments: Hummus, mustard, hot sauce, salsa.
Freezer Staples
- Frozen Vegetables: Mixed vegetables, broccoli, spinach, peas, corn, edamame.
- Frozen Fruits: Mixed berries, mango, banana, pineapple—perfect for smoothies.
- Batch-Cooked Items: Cooked beans, cooked grains, soups, sauces you’ve made in bulk.
- Strategic Convenience: Frozen tofu, plant-based burgers for occasional use.
Budget-Friendly Kitchen Setup Tips

You don’t need to spend a fortune to eat well.
Shop Smart
- Buy Bulk: Grains, beans, nuts, and seeds from bulk bins cost 30-50% less than packaged versions. You only buy what you need and save serious money.
- Choose Frozen Produce: Nutritionally identical to fresh, often cheaper, zero waste from spoilage. Load up your freezer.
- Shop Sales: When beans, canned tomatoes, or grains go on sale, stock up. These don’t expire quickly.
- Skip Specialty Stores: Regular grocery stores carry everything you need. Save the health food store for occasional specialty items.
Prioritize Your Spending
- Spend More On: Fresh produce and quality oils. These impact your meals most.
- Spend Less On: Packaged convenience foods and processed plant-based substitutes. You’re paying for marketing.
- Buy Generic: Store brand rice, beans, oats, and canned goods are identical to name brands. Don’t pay extra for labels.
I cut my grocery bill by 40% when I stopped buying processed substitutes and focused on whole foods. Real food is cheaper.
👉🏿 For complete budget strategies and money-saving shopping tips, check out How to Eat Plant-Based on a Budget (Without Sacrificing Nutrition).
Organizing Your Kitchen for Success
Organization matters more than you think. A chaotic kitchen makes healthy eating harder.
Visibility Is Everything
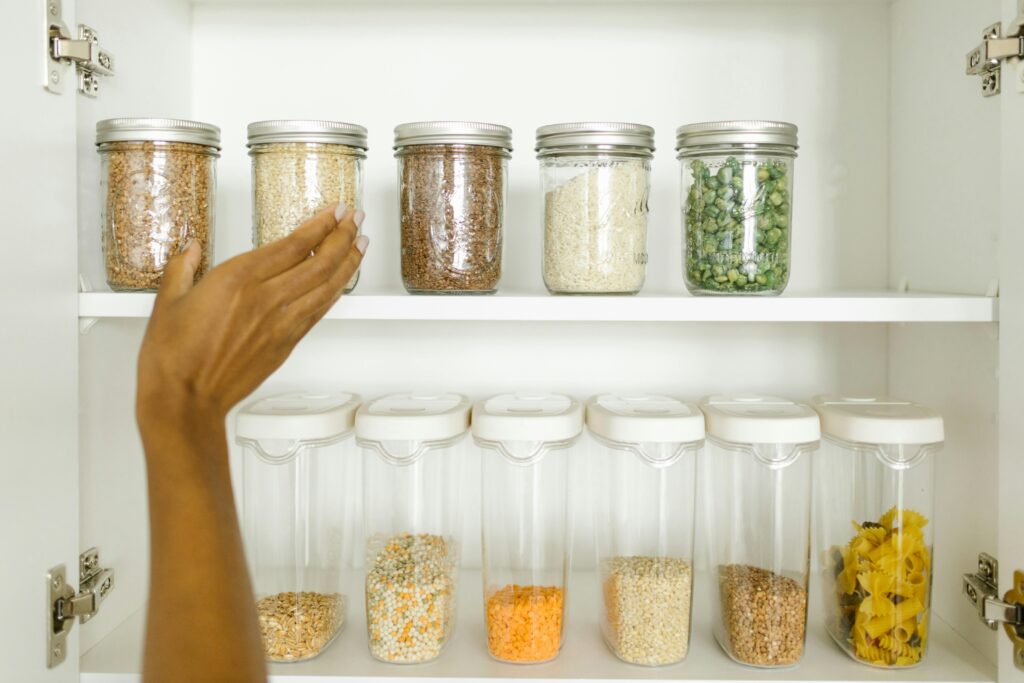
- Use Clear Containers: Transfer grains, beans, nuts, and seeds into glass jars or clear containers. When you can see what you have, you’ll actually use it.
- Eye-Level Storage: Keep your most-used items at eye level. Grains, beans, and everyday spices should be easy to grab without searching.
- Group Similar Items: All grains together, all beans together, all spices together. This prevents buying duplicates and makes cooking faster.
Prep for Efficiency
- Wash and Chop Ahead: When you get home from the grocery store, wash and chop vegetables. Store them in containers so they’re grab-and-go.
- Portion Out Snacks: Divide nuts, seeds, and dried fruit into small containers for easy snacking.
- Make Sauces in Advance: Tahini sauce, peanut sauce, and dressings keep for a week. Make them on Sunday, use them all week.
Create Zones
- Breakfast Zone: Oats, plant milk, nut butter, berries, chia seeds—all in one area.
- Cooking Zone: Oils, spices, grains, canned tomatoes—everything you need to make dinner.
- Snack Zone: Fruits, raw vegetables, hummus, nuts—easy to grab when hunger hits.
These small tweaks save massive time and mental energy during busy weeks.
Common Kitchen Setup Mistakes to Avoid

Let me save you from the mistakes I made.
#1: Buying Everything at Once
You’ll waste money on ingredients you never use and food that expires before you learn to cook it. Build gradually.
Buy what you need for specific meals, then expand.
#2: Skipping the Basics for Fancy Ingredients
Goji berries and acai powder sound impressive, but you need rice, beans, and vegetables.
Master the fundamentals before chasing superfoods.
#3: Not Organizing Your Space
If you can’t see what you have, you won’t use it.
Clear containers, labeled shelves, and logical grouping prevent waste and save time.
#4: Forgetting to Taste Test
Not all plant milks taste the same. Not all nutritional yeast brands are equal.
Buy small amounts first. Find what you actually like.
#5: Copying Someone Else’s Kitchen Exactly
Your kitchen should reflect what YOU eat, not what an influencer eats. Stock what works for your taste, your budget, and your life.
I wasted so much money buying ingredients I saw in other people’s pantry tours. Half of them sat unused for months.
Learn from my mistake.
FAQs About Plant-Based Kitchen Setup
Q: How much should I expect to spend setting up my plant-based kitchen?
Your initial investment depends on what you already have.
If you’re starting completely from scratch with zero pantry staples or kitchen tools, expect to spend $150-$250 total over your first month.
This includes basic tools, pantry staples, and weekly groceries. After that, weekly grocery costs typically run $40-$70 for one person, often less than what you were spending before.
The key is building gradually, not buying everything in one expensive trip.
Q: Do I have to throw out all my current food?
Absolutely not. Finish what you have, especially shelf-stable items. As things run out, replace them with plant-based alternatives.
The only exceptions are foods actively making you feel terrible or items you know you won’t eat.
Wasting food helps nobody. Transition thoughtfully.
Q: Can I really eat plant-based without expensive specialty ingredients?
Yes! The foundation of plant-based eating is incredibly affordable: rice, beans, oats, seasonal produce, and basic spices. These cost less than meat, dairy, and processed foods.
The expensive trap is buying trendy superfoods and processed substitutes.
Stick with whole foods and your grocery bill will likely decrease, not increase.
📖 Good Reads: How Not to Die, The China Study and Plant-Based Nutrition
In Essence: Reset Gradually
Setting up your plant-based kitchen isn’t about perfection or speed. It’s about creating a space that makes nourishing yourself the easy, natural choice.
You start with the basics—grains, beans, vegetables, and a few good tools. Then build gradually, adding ingredients as you learn what you actually use.
Organize thoughtfully so you can see what you have and use it before it goes bad. Focus on whole foods that cost less and nourish more than processed alternatives.
This kitchen setup becomes the foundation for everything else.
So take a breath. Start where you are. Buy what you can afford. Cook what sounds good.
And know that every single addition to your kitchen is a step toward feeling better in your body.
You’ve got this. And I’m here, cheering you on every step of the way.
⭐ Let’s chat: What’s already in your kitchen right now that you didn’t realize was plant-friendly? I bet you have more than you think! Drop it in the comments below.